
What to Expect During a Home Remodel: Step by Step, From First Call to Final Walkthrough
· By Lauderly G. Lima
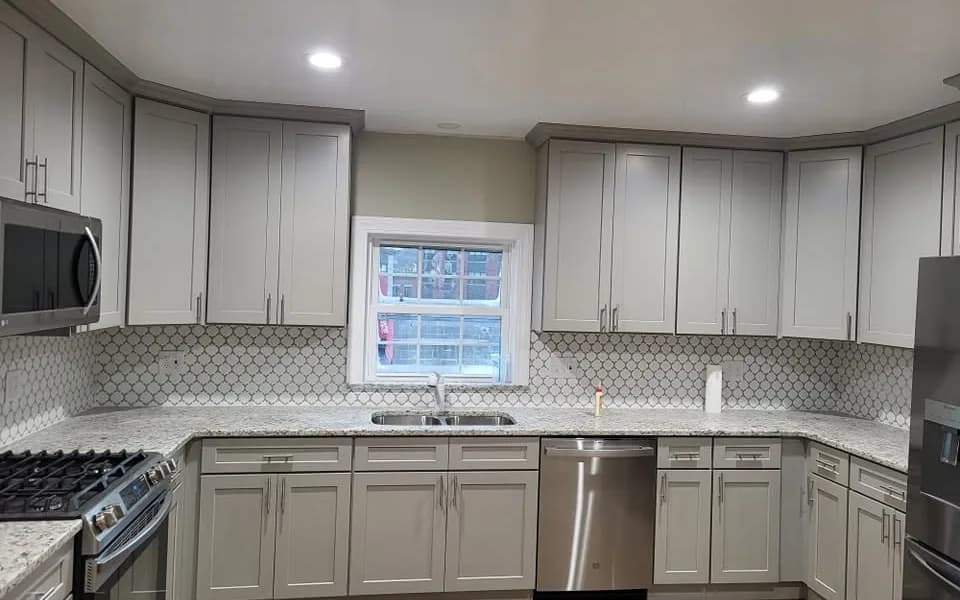
Most of the stress in a remodel comes from not knowing what happens next. When will the walls come down? Why is nobody here today? When can I use my kitchen again? Knowing the normal sequence of a project makes it much easier to plan your life around it and to spot real problems early.
This is how a typical residential remodel unfolds in Massachusetts, from the first phone call to the final walkthrough. The steps are similar whether you are redoing a bathroom, opening up a kitchen, or adding a room, although bigger projects stretch each stage out.
Step 1: The First Call and the Site Visit
It starts with a conversation. You describe what you want, roughly what you are hoping to spend, and when you would like it done. A good contractor will ask questions back: how old the house is, whether there are known problems, and what is driving the project.
Next comes a visit to the house. This is where the real scoping happens. The contractor measures, looks at the framing, plumbing, and electrical where possible, checks for signs of water damage, and talks through options. In older Central Massachusetts homes, like triple-deckers, colonials, and capes built generations ago, this visit often turns up things that change the plan, such as undersized framing, old knob and tube wiring, or a previous owner's do-it-yourself work.
Step 2: The Proposal and the Contract
After the visit you should receive a clear written proposal. It should describe the scope of work, what materials are included, what is excluded, the price, and the payment schedule. If something is still undecided, like tile or cabinet style, the proposal may use an allowance, a set amount you can spend on that item.
Massachusetts has specific rules for home improvement contracts on existing one to four unit homes. In general terms, the contractor must be registered under the state Home Improvement Contractor program, the contract must be in writing with certain details, and the upfront deposit is limited by law (generally no more than one third of the price, with an exception for special-order materials). Read the contract carefully and ask about anything that is unclear before you sign.
Step 3: Design Choices, Ordering, and Permits
Before the first wall comes down, you will make most of your selections: cabinets, countertops, tile, fixtures, flooring, windows, and paint colors. Some of these have long lead times, so ordering early is what keeps a project from stalling halfway through.
At the same time the contractor applies for the building permit through your town's building department, along with any electrical, plumbing, or gas permits the licensed trades need. Larger projects may also require plans, a structural review, or Board of Health sign-off if the house is on a septic system. You usually cannot start until the permit is issued, so this stage sets the real start date.
Step 4: Demolition and Discovery
Demo day is fast and loud. Old cabinets, fixtures, flooring, and drywall come out, and the crew protects the rest of the house with floor coverings and dust barriers. In most cases you will have a dumpster in the driveway for part of the project.
Demolition is also when surprises show up. In older homes that can mean rotted subfloor under a toilet, a joist someone notched decades ago, outdated wiring, or water damage hidden behind tile. This is normal. A good contractor will stop, show you what was found, explain the options and cost, and get your approval in writing (a change order) before doing extra work. Setting aside a contingency of roughly 10 to 15 percent of the budget is a common rule of thumb for older houses.
Step 5: Rough Work and Inspections
Next comes the work you will never see again but that matters most: framing, rough plumbing, rough electrical, HVAC, and insulation. Once each stage is complete, the town's inspectors come out to check it before the walls are closed. Depending on the project, you may see rough framing, plumbing, electrical, and insulation inspections.
This stage can feel slow from the outside, because there may be days where the crew is waiting on an inspection or a trade partner. That is part of doing it right. Covering up work before it passes inspection creates bigger problems later.
Step 6: Close-In, Finishes, and the Final Walkthrough
Once inspections pass, drywall goes up, gets taped and finished, and the project starts to look like a room again. Then come the finishes: flooring, cabinets, countertops (which often need a template visit and a wait for fabrication), tile, trim, paint, fixtures, and hardware. This is the most rewarding stage to watch, and it is also where small delays from backordered items tend to show up.
When the work is done, the town does its final inspections and the contractor walks the project with you. This walkthrough is your chance to point out anything that is not right, from a sticky drawer to a paint touch-up. Those items go on a punch list, which gets completed before the job is closed out. Make sure you also receive any manuals and paperwork for new appliances, windows, or fixtures.
Living Through a Remodel
Most people stay in their homes during a remodel, and it is very doable with a little planning. For a kitchen, set up a temporary kitchen in another room with a microwave, a coffee maker, a fridge, and a folding table, and plan for more takeout than usual. For a bathroom, if it is your only one, ask about phasing so the toilet is usable each night, or plan a short stay elsewhere for the days it cannot be.
Talk through the daily routine before work starts: what time the crew arrives, where they will park, which door they will use, and how pets and kids will be kept away from the work area. Agree on how you will communicate, whether that is a quick daily text or a weekly check-in. Clear communication is the single biggest factor in a smooth project. If you are planning a remodel in Leominster or nearby, a free estimate is a good way to see how the process would look for your specific house.
Frequently asked questions
- How long does a typical home remodel take?
- It depends on the project. Many bathroom remodels take a few weeks of active work, kitchens often take several weeks to a couple of months, and additions usually take a few months. Planning, ordering, and permits add time before work begins.
- Can I live in my house during a remodel?
- Usually, yes. Most homeowners stay home during kitchen and bathroom remodels by setting up a temporary kitchen or using another bathroom. Very large projects, like a whole-house gut renovation, may make a short move worthwhile.
- How much deposit can a contractor ask for in Massachusetts?
- For home improvement work on existing one to four unit homes, Massachusetts law generally limits the upfront deposit to one third of the total contract price, unless special-order materials require more. The contract should spell out the full payment schedule.
- What happens if the contractor finds a problem behind the walls?
- The contractor should stop, show you the problem, explain the options and the cost, and get your written approval through a change order before doing the extra work. Hidden problems are common in older homes, which is why a contingency budget is recommended.
- Who pulls the building permit for a remodel?
- In most cases the contractor pulls the building permit and schedules inspections with the town's building department. Licensed electricians and plumbers pull their own trade permits. Ask your contractor to confirm this in the contract.
Found this helpful? Make us a preferred source on Google.
Ready for an exact price?
Get a free, no-pressure in-home estimate. Real numbers for your home, not a phone guess.